This guide walks you through the steps to create a new website using the control panel. You can choose to set up a blank HTML/PHP site or install WordPress. Follow the steps below to get started.
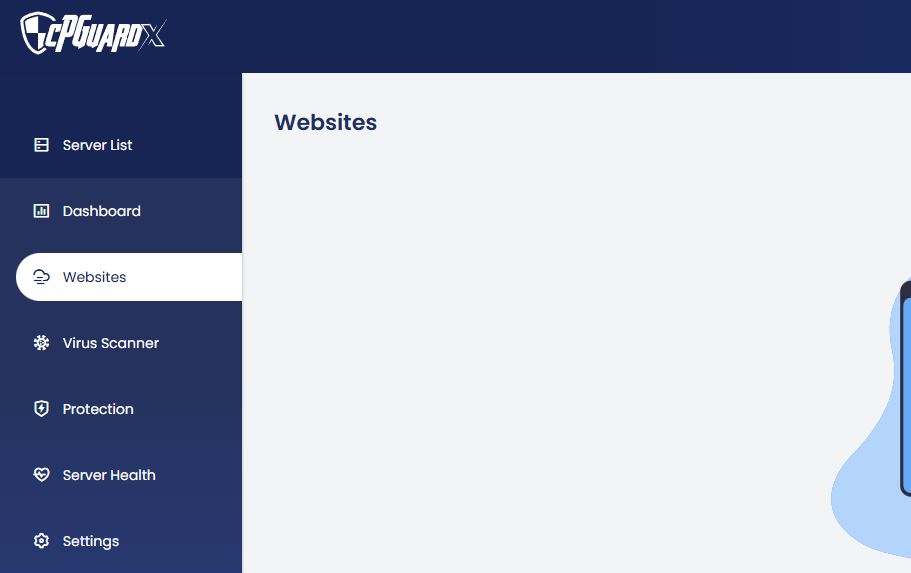
1. Log in to your control panel and Navigate to Websites from the left-hand menu.
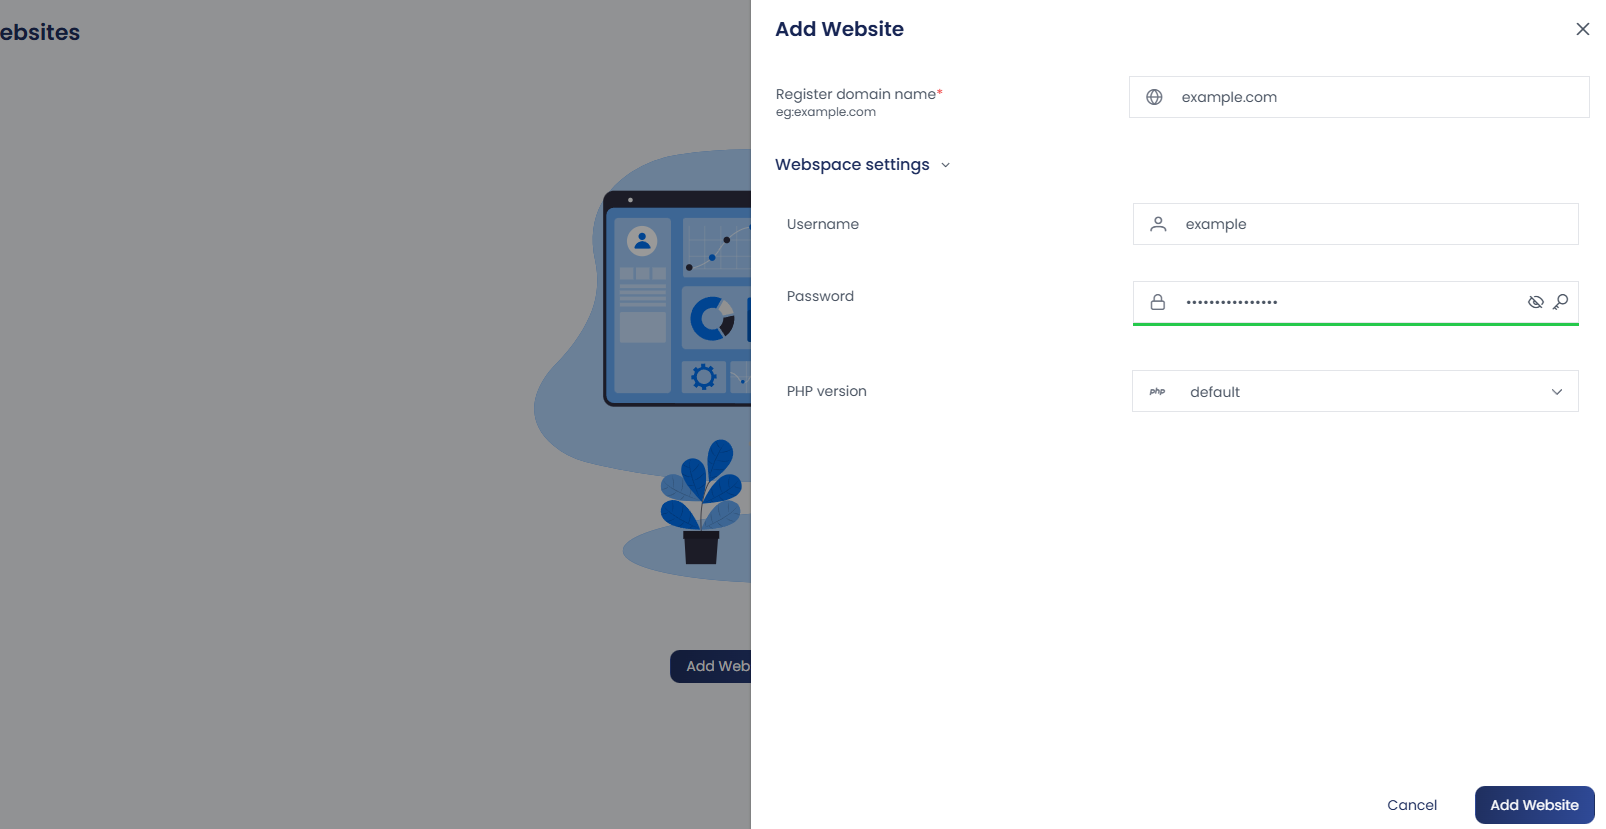
2. Click on + Add Website or Add Website to begin the website setup.

3. A new window will appear where you need to:
-
Enter a valid domain name.
-
Click on Webspace Settings to view the automatically generated username and password— you can change them if needed.
-
The PHP version is set to the latest available by default (based on Nginx or OpenLiteSpeed). You can change it here if needed.
-
Click Add Website to proceed.
4. Choose your website type:
-
Blank Website: Ideal for creating a simple HTML or PHP-based site. Click on Blank Website, then click Continue to create it. You’ll be directed to the website management section after creation.
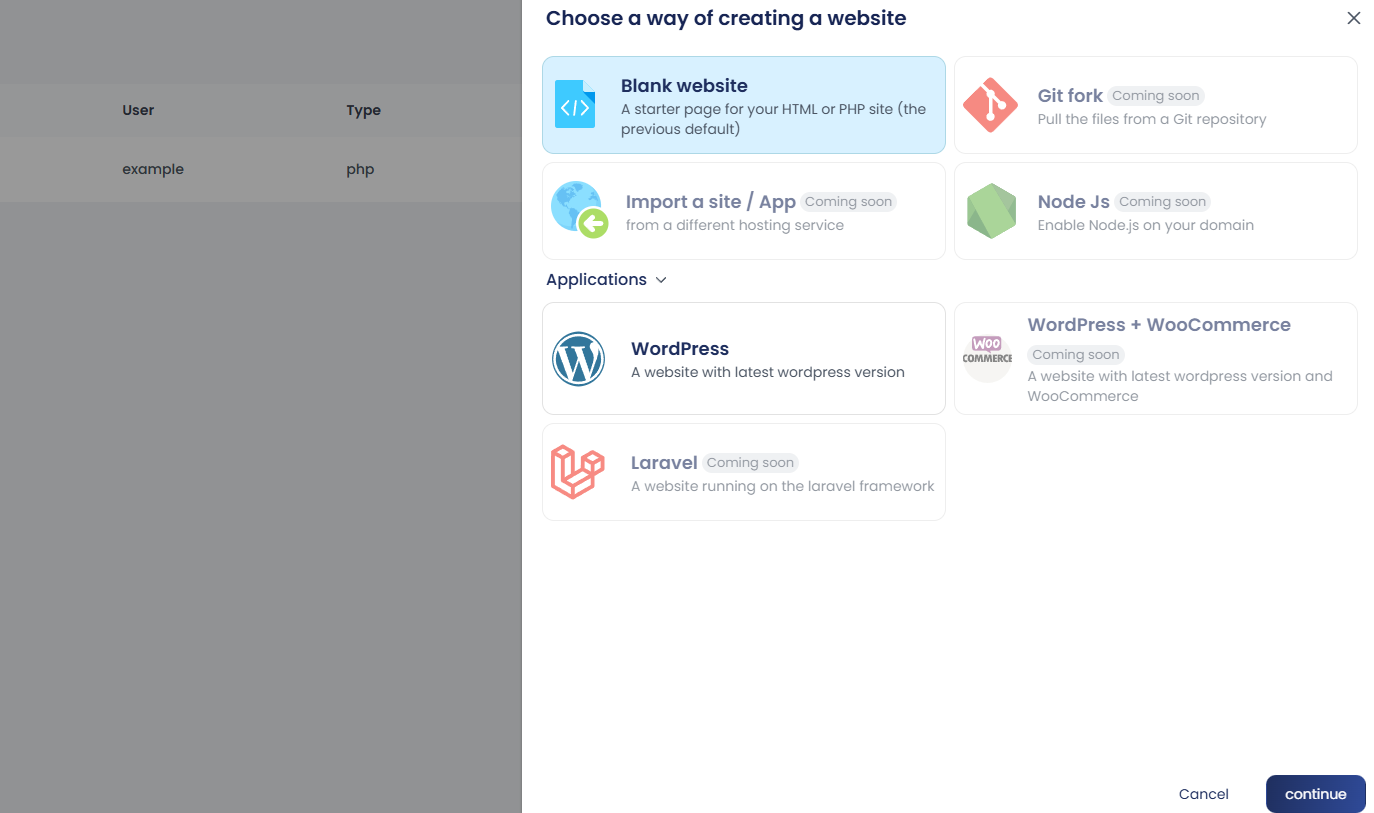
- WordPress Website: Click on WordPress, then click Continue. You can fill in the installation directory, website title, and WordPress admin details. If left empty, random values will be generated.
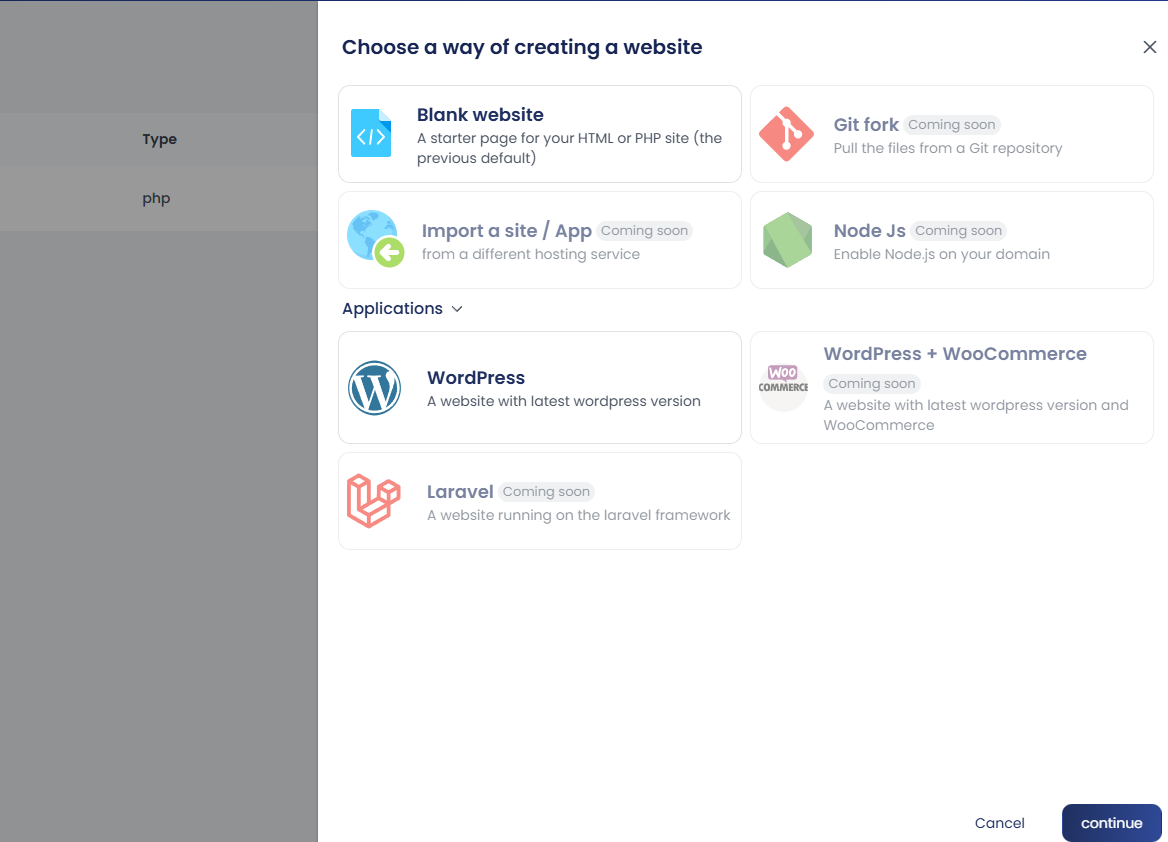
Note: Additional applications shown under the setup window are marked as “Coming Soon” and will be available in upcoming releases.
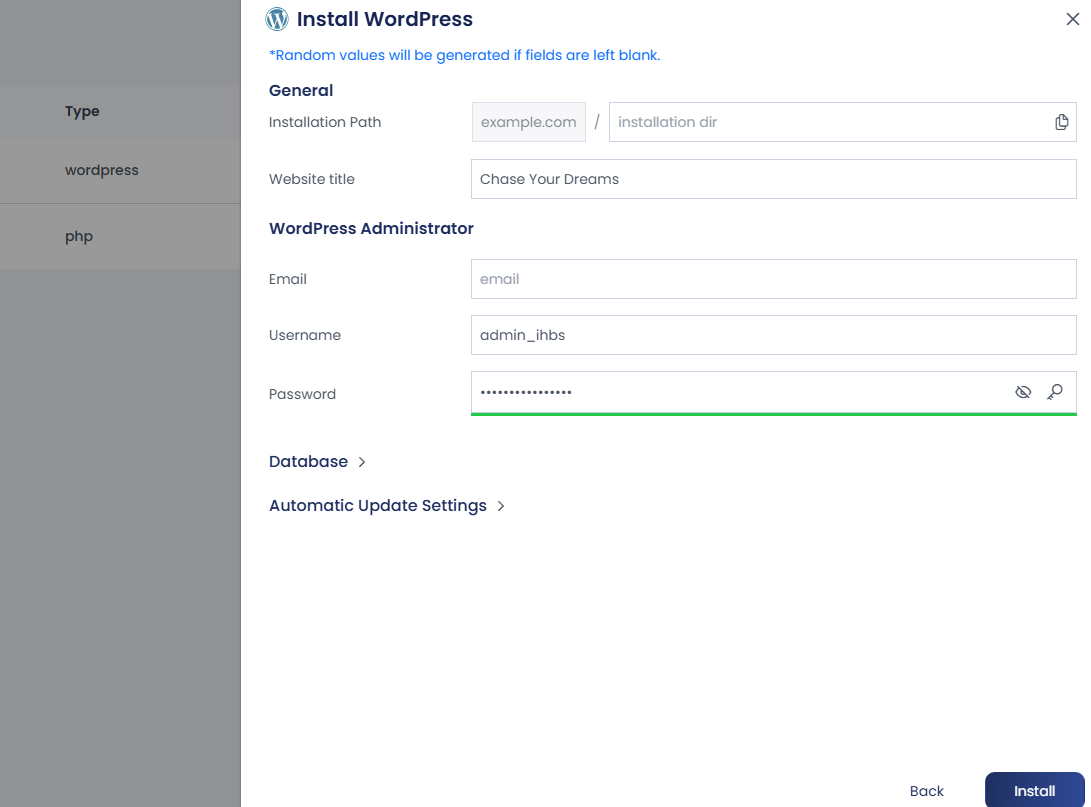
- Click the Database to view database details.
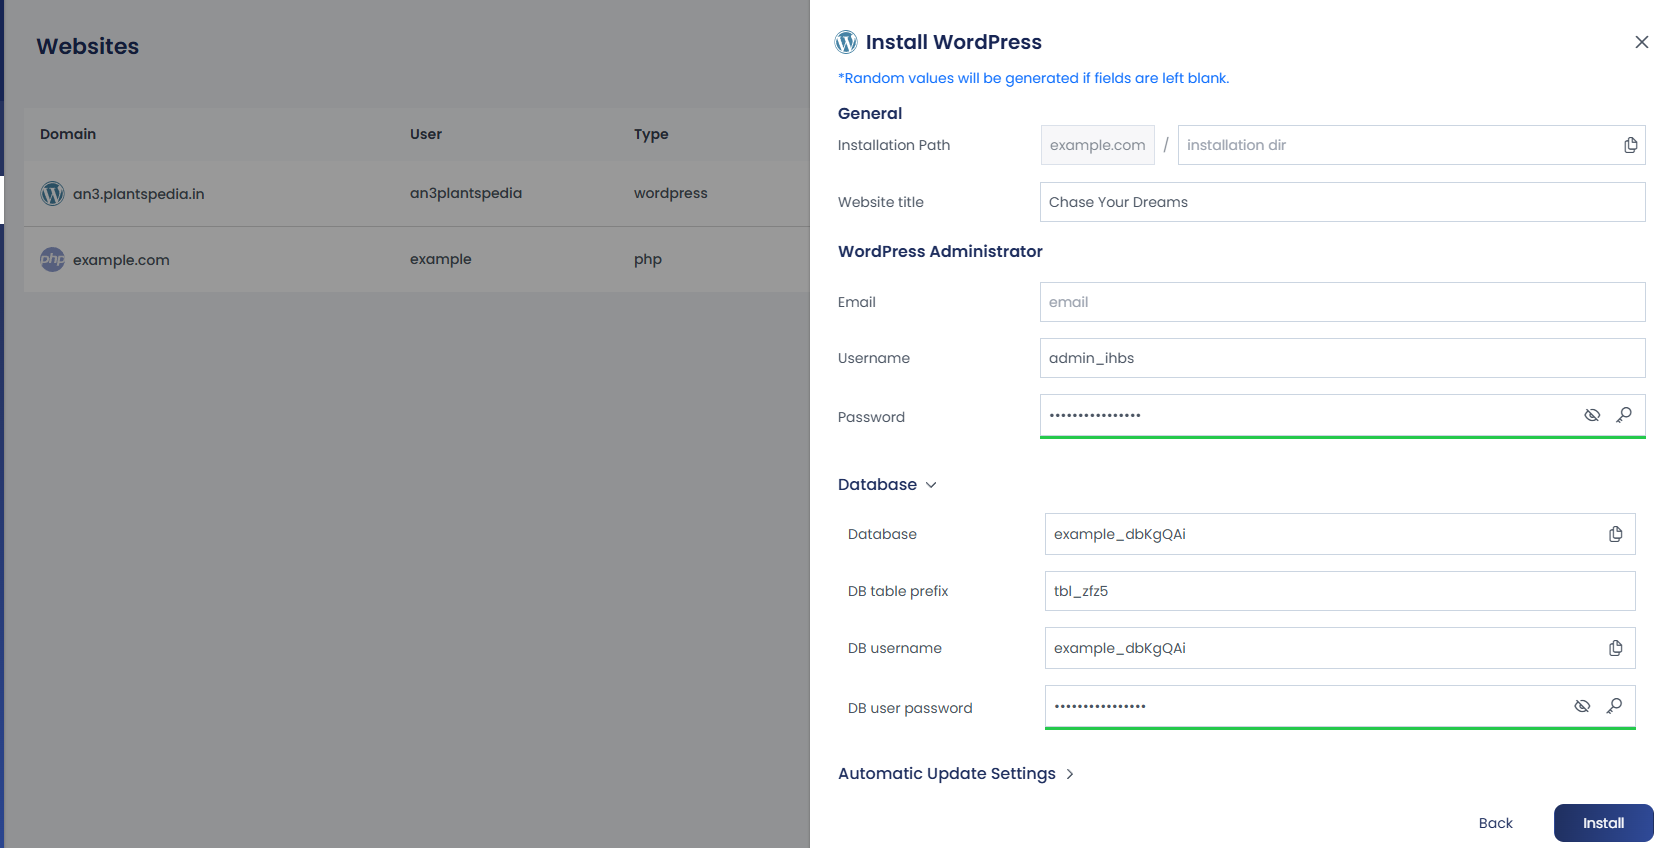
- Under Automatic Update Settings, choose whether to allow auto-updates for WordPress core, plugins, and themes. The WP Toolkit can handle these updates automatically.
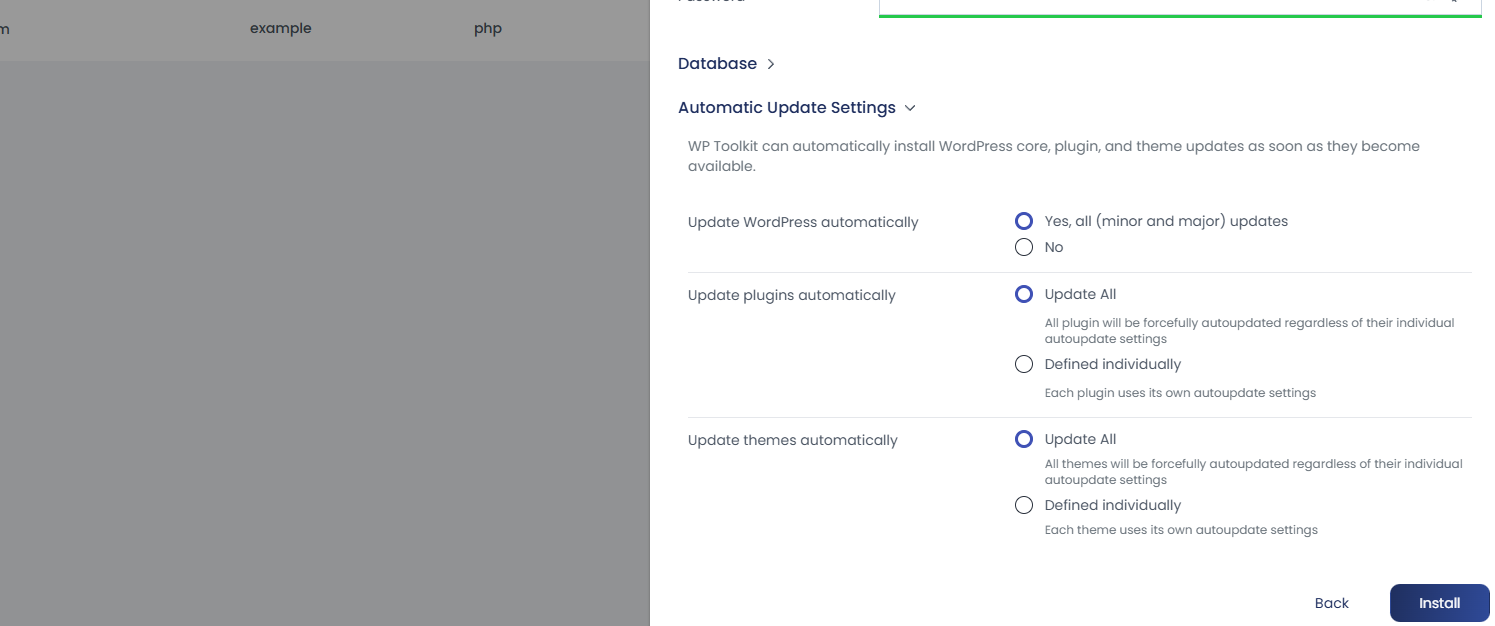
5. Click Install to begin the setup.
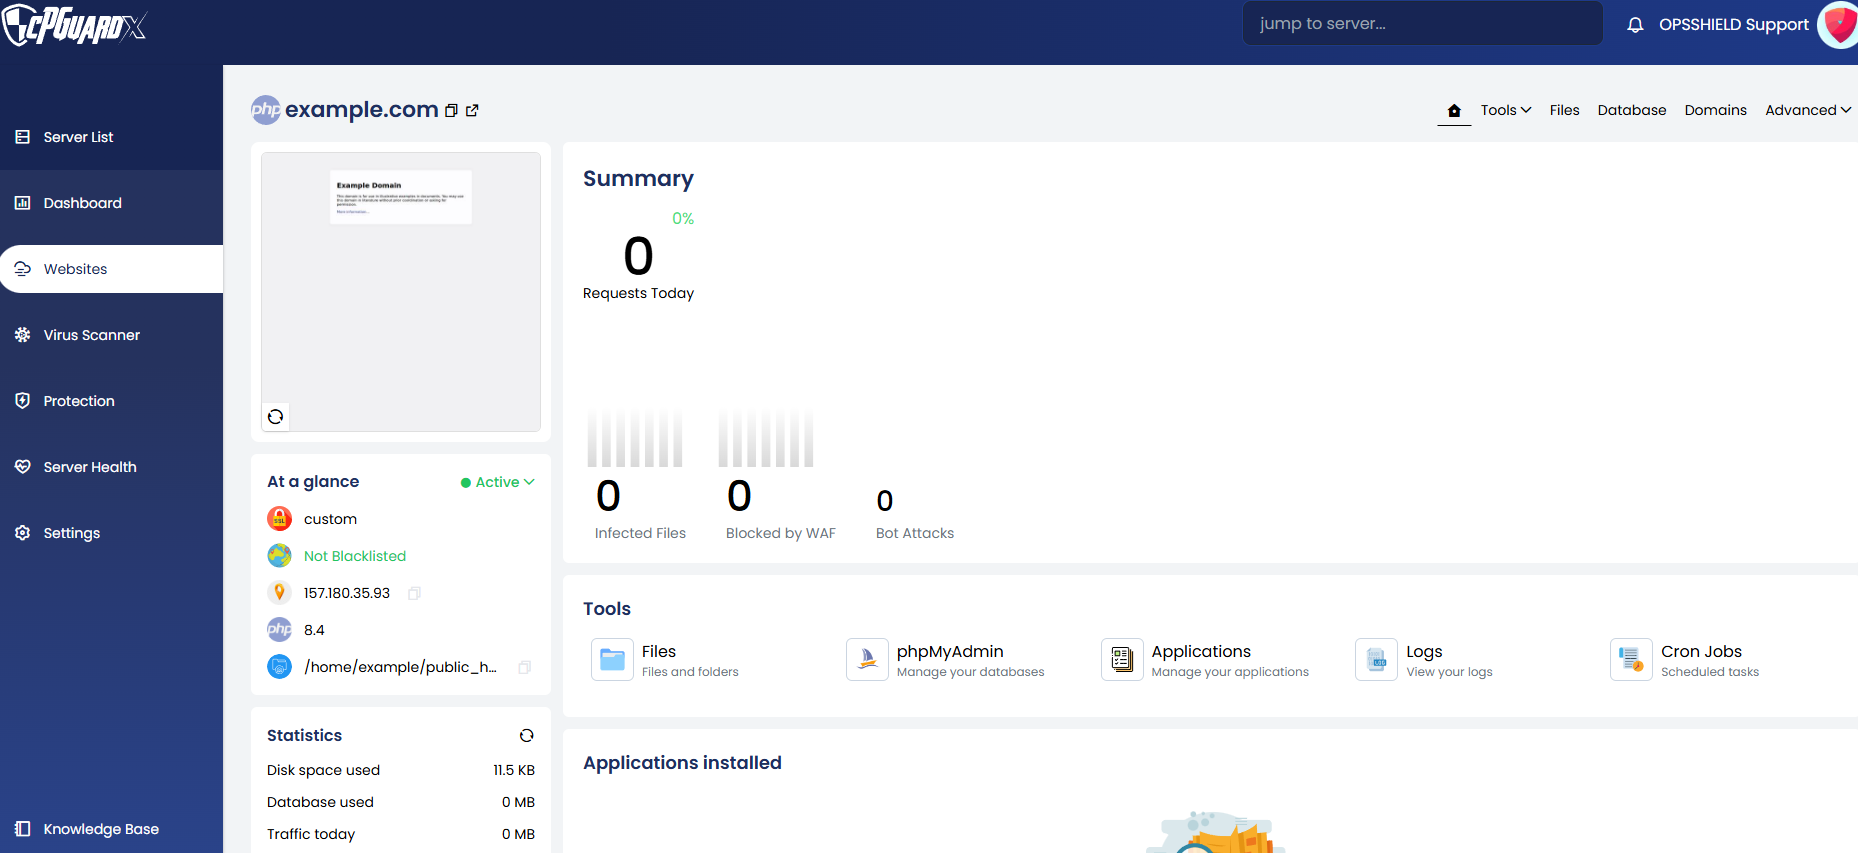
Installation progress and status can be viewed directly in the panel.
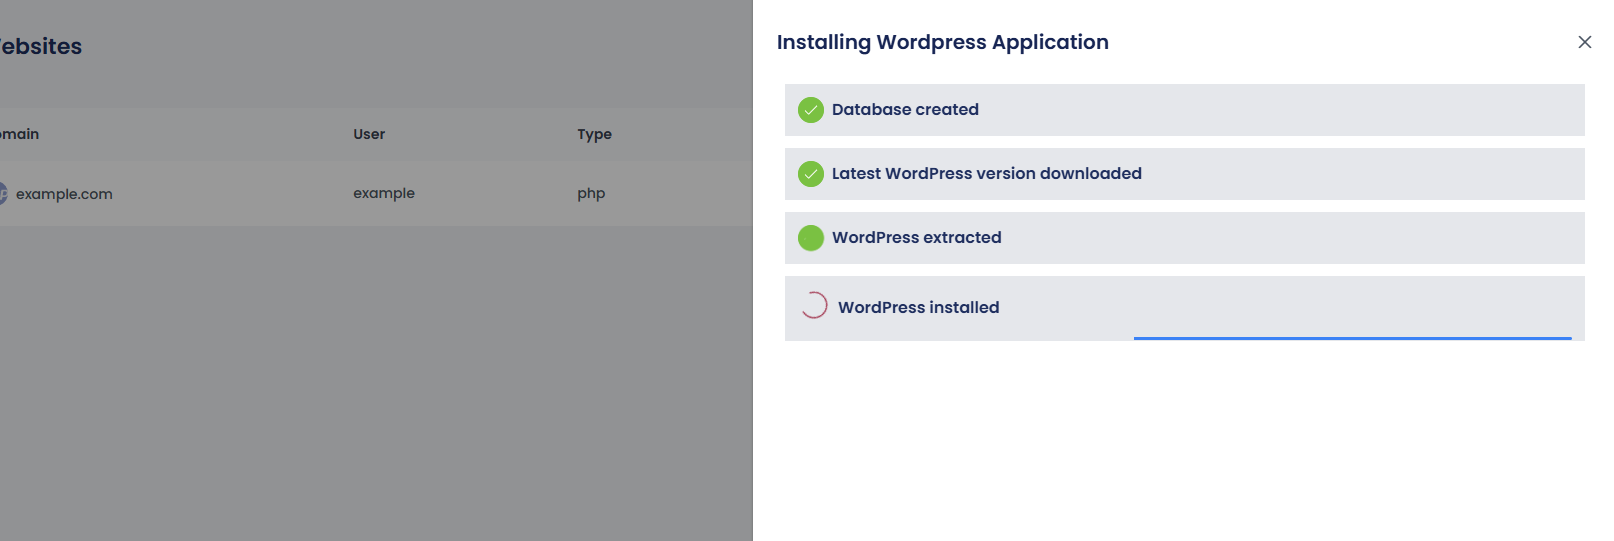
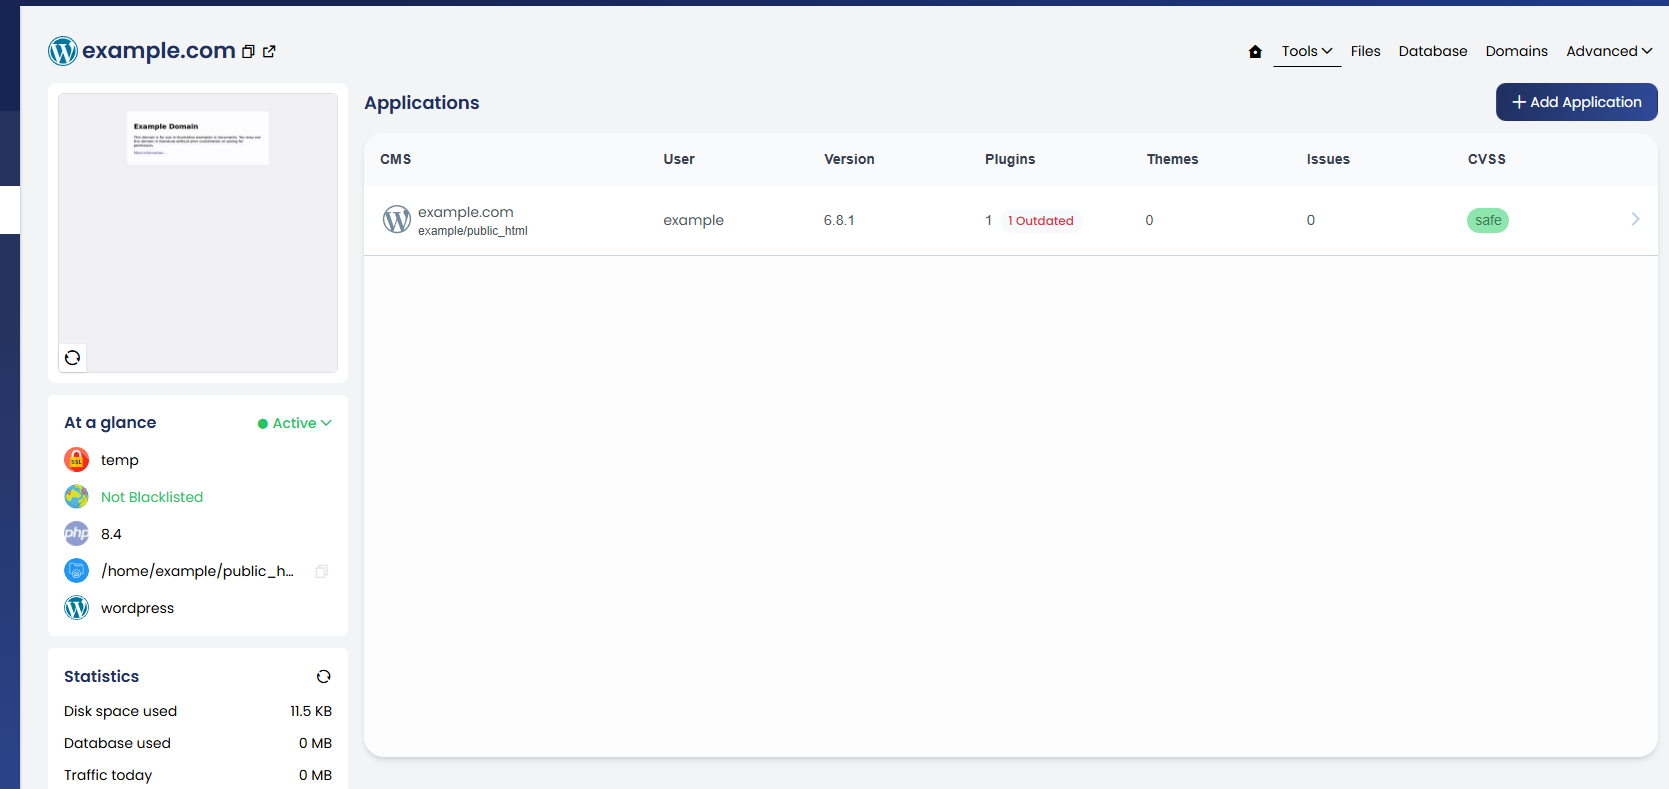
Once complete, you’ll be taken to the website management screen.