The following guide will show you how to install cPGuard X on supported 64 bit operating systems. Make sure your server meets the requirements to run cPGuard X.
Requirements
To install cPGuardX, use a clean server running Ubuntu 24.04 with root access.
Note: Before begining you need to have a valid license key ready. Also, Ensure the installation is performed on an empty server with no other web hosting control panel installed.
Procedures
Before running the installer, Update the system by running the following command. Ensure you are logged in as the root user before proceeding.
apt update && apt upgrade -y To begin the installation, run the installer using your preferred database engine from the following list. The system supports multiple database engines, so choose the one that best fits your environment or existing setup. Make sure to replace LICENCE-KEY in the command with your license key.
MySQL 8.0 (Default)
cd /usr/local/src && rm -f cpguardx.sh && curl -o cpguardx.sh -L https://downloads.opsshield.com/cpguard/cpguardx.sh && bash cpguardx.sh LICENCE-KEYMySQL 8.4
cd /usr/local/src && rm -f cpguardx.sh && curl -o cpguardx.sh -L https://downloads.opsshield.com/cpguard/cpguardx.sh && DB_ENGINE='MYSQL_8.4' bash cpguardx.sh LICENCE-KEYMariaDB 10.11
cd /usr/local/src && rm -f cpguardx.sh && curl -o cpguardx.sh -L https://downloads.opsshield.com/cpguard/cpguardx.sh && DB_ENGINE='MARIADB_10.11' bash cpguardx.sh LICENCE-KEYMariaDB 11.4
cd /usr/local/src && rm -f cpguardx.sh && curl -o cpguardx.sh -L https://downloads.opsshield.com/cpguard/cpguardx.sh && DB_ENGINE='MARIADB_11.4' bash cpguardx.sh LICENCE-KEY
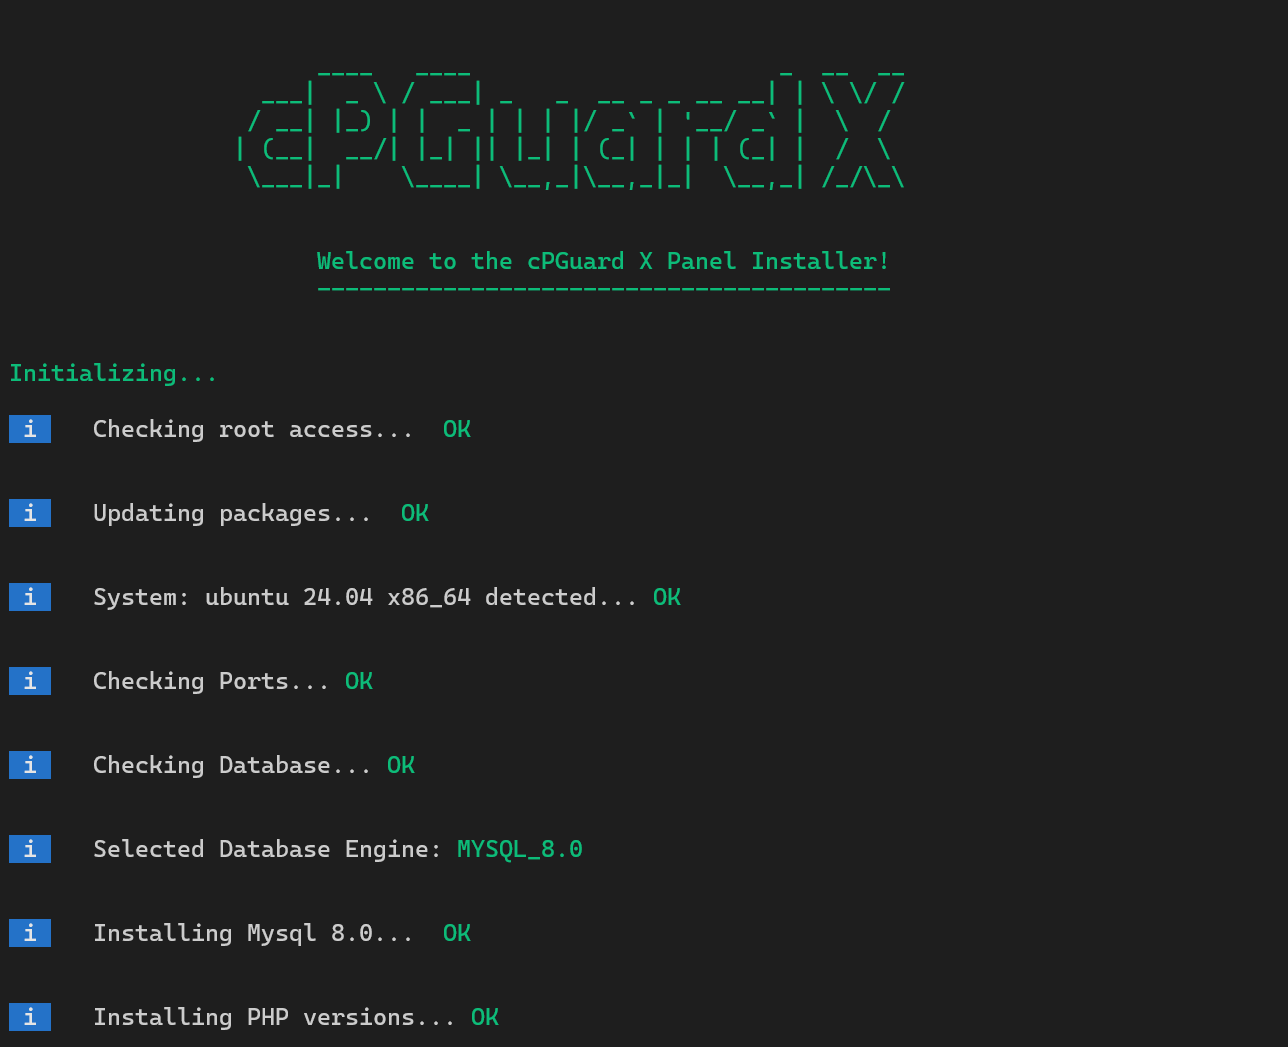
After executing the cPGuard X Panel Installer command, the installation progress is displayed live on the terminal. You can monitor the installer log appearing on the screen as cPGuard X is being installed.

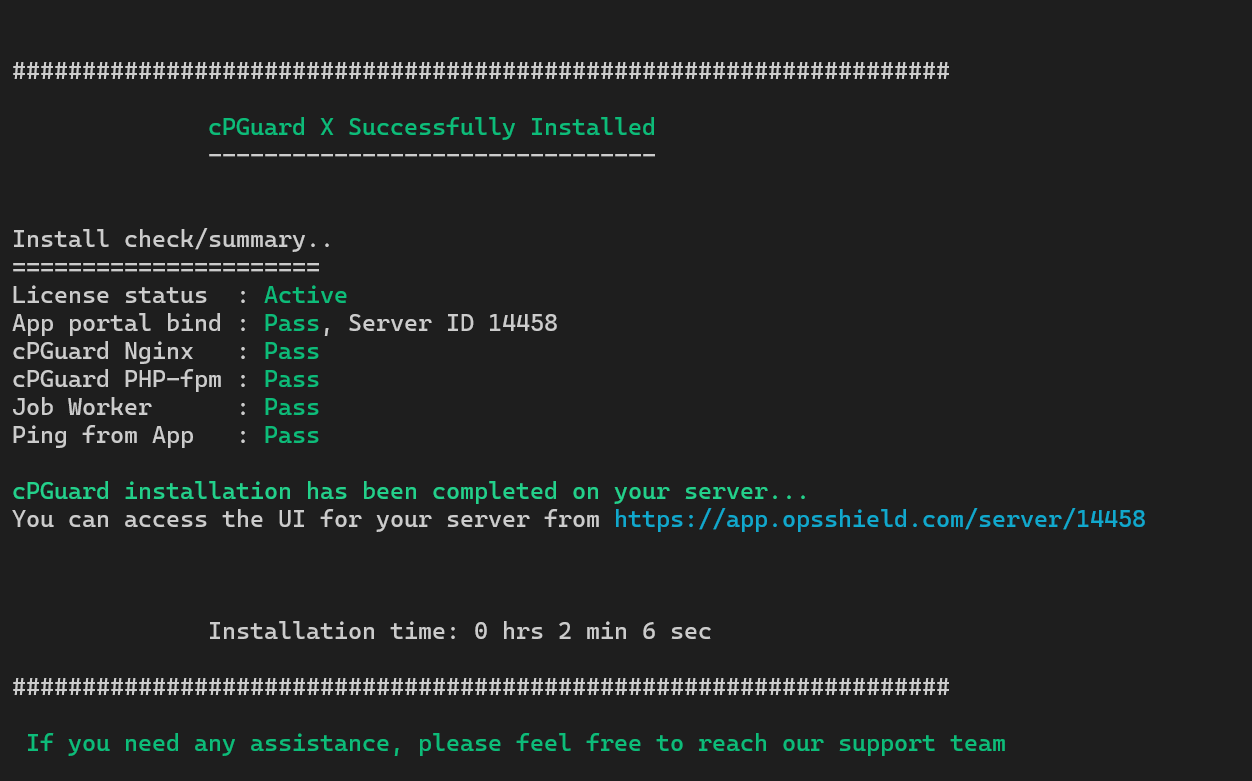
If the installation completes successfully, a success message will be displayed at the end, along with the cPGuard X panel link for accessing the web interface.

Access cPGuard X panel
You can access the cPGuard X panel using the link provided in the installation summary. Alternatively, you can also log in to the application portal and navigate to the server list to access the panel from there.
From the panel, you can configure security features, manage websites, monitor system health, and perform administrative tasks etc.
cPGuard X Agent Connection
The App Portal services must be able to communicate to the agent service, which is running on port 9098 on the servers. Since this is a custom port, we do not open it. But we recommend opening the App Portal Port on your server.
If you have a custom firewall on your server or in front of your server, you must whitelist the following IPs listed.
137.184.200.210
159.89.87.35
167.99.149.179
We expect an uninterrupted connection from our Portal to our agent service, which is listening on port 9098 on your server. Once the connection issue is fixed, the error should not appear again.
Note: If you are using Cloud Servers like AWS, Azure, GCP, DigitalOcean, Linode, etc, you need to add the exclusion for the above IPs in the cloud firewall.
In case you encounter any issues during installation, please feel free to contact us and we will assist you to complete the installation without any additional charges.
