
To migrate a website from another hosting panel to cPGuardX, follow the steps below. This guide includes how to prepare your backup, create a new site in cPGuardX, upload your files, and restore your database.
Step 1: Prepare for Migration
Before starting, take a compressed backup of the following from your current hosting panel:
-
The
public_htmldirectory (your website files) -
The database (usually a
.sqlfile)
Step 2: Create a Website in cPGuardX
Follow the official guide: How to Create a New Website from the Control Panel
Once your website is created:
1. Go to the File Manager for the newly created website
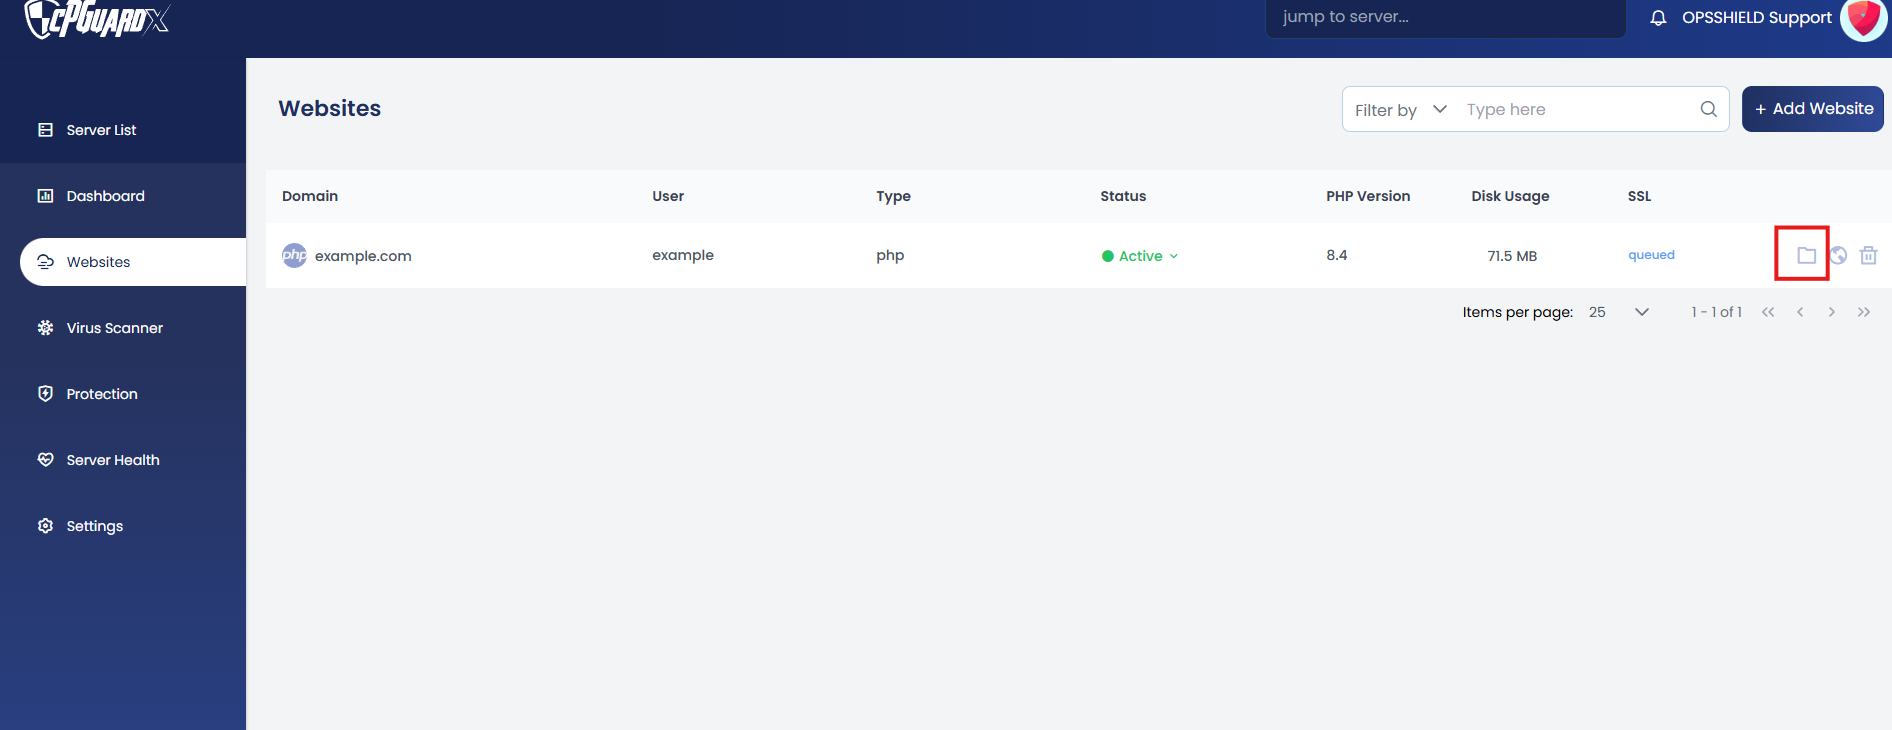
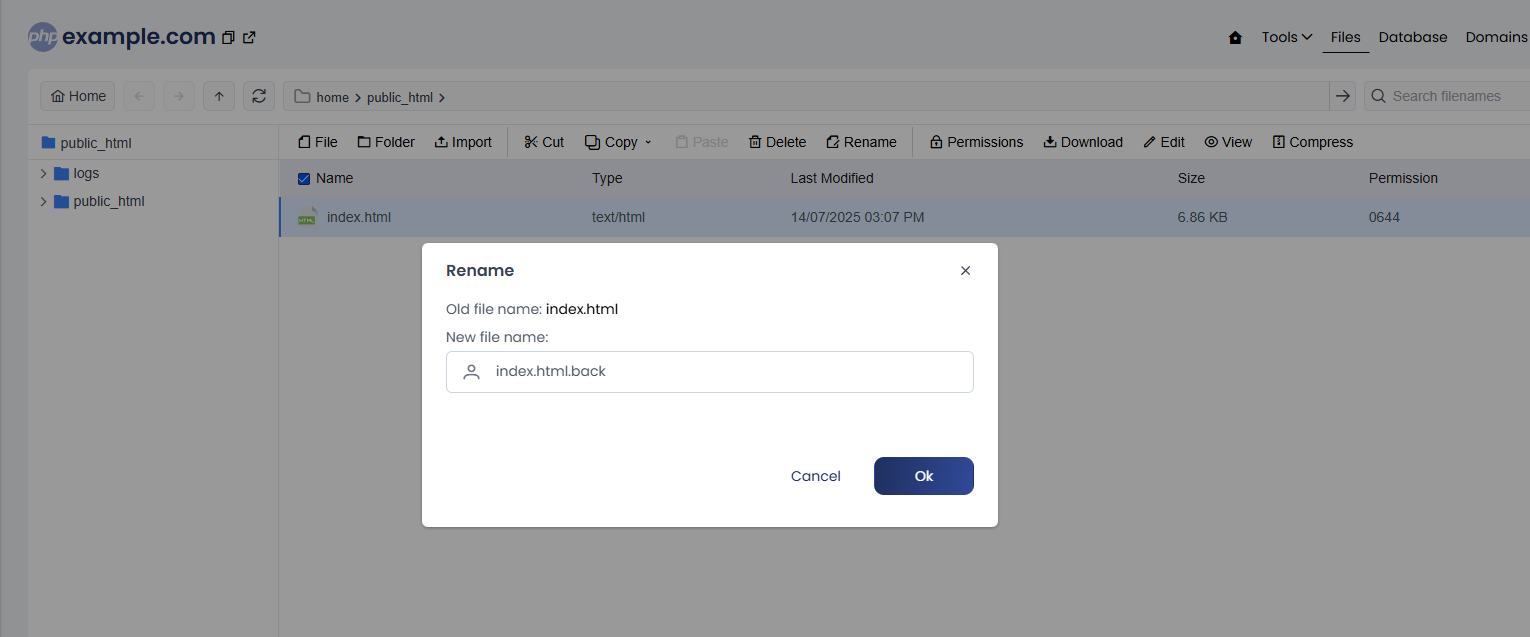
2. Inside the public_html folder, you will find a default index.html file.
Rename or delete it to avoid conflicts with your actual website’s index.html.
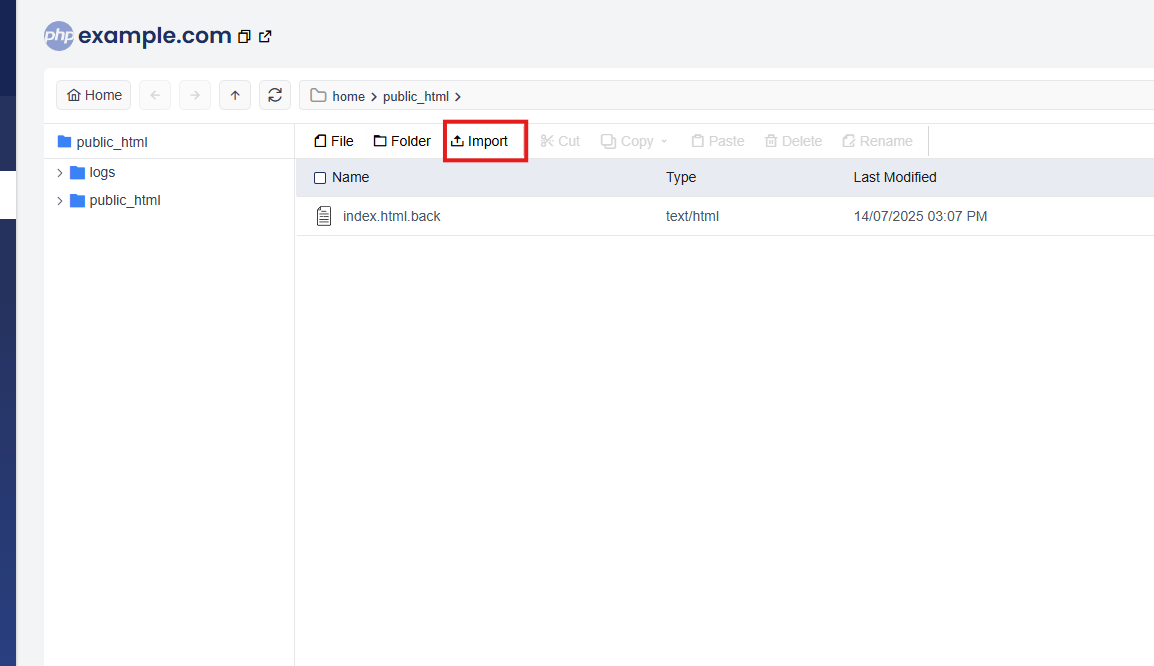
Step 3: Upload Website Files
Click the Import option in the File Manager. You have two ways to upload your files:
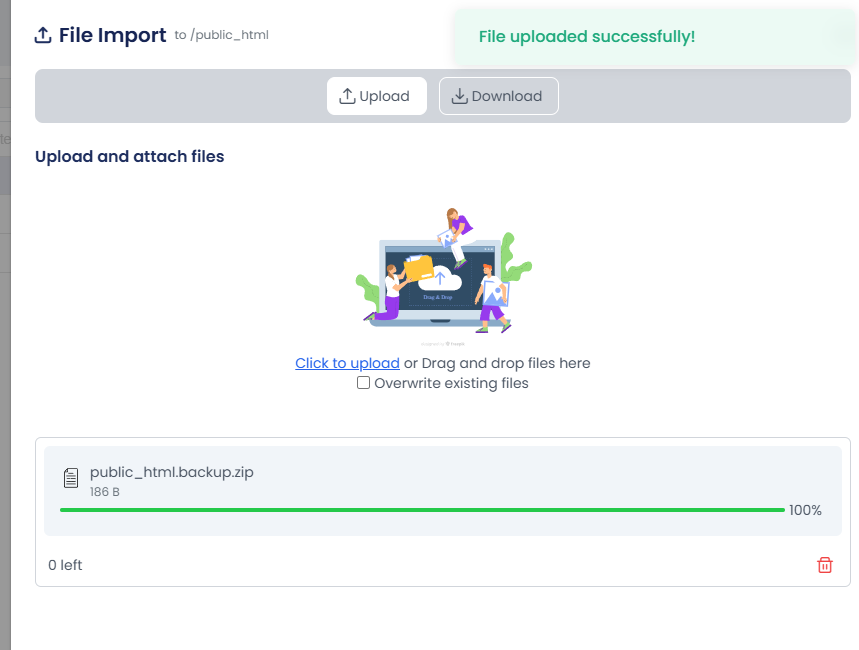
Option 1: Upload from Your Local Machine
-
Click Upload, then either:
-
Drag and drop your compressed files, or
-
Click Click to Upload, browse and select your file.
-
-
Wait for the upload to complete (progress bar will reach 100%).
Repeat the same process to upload your database backup file.
Option 2: Download from a URL
-
If you have a direct URL to your backup (e.g.,
http://domain.com/backup.zip):-
Click Download
-
Paste the URL and click Save
-
Once the download reaches 100%, click Close
-

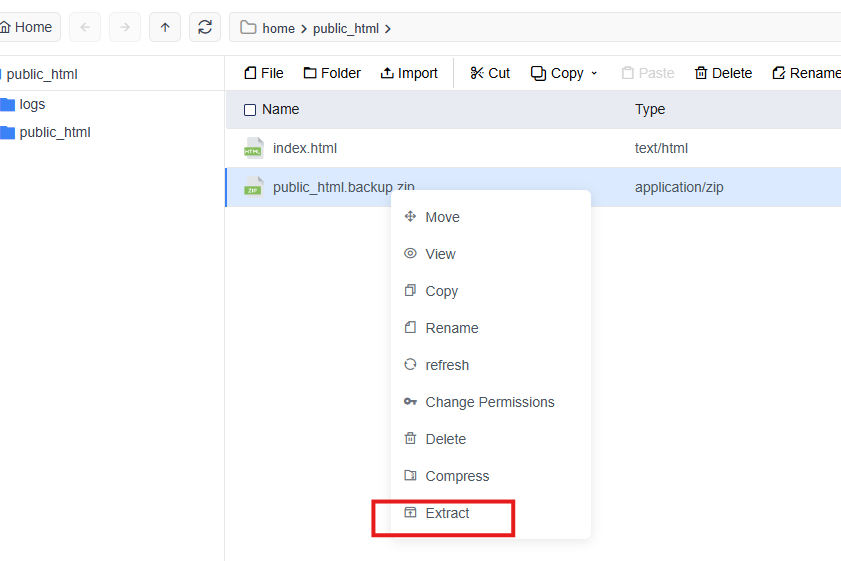
- Then extract the downloaded compressed file inside
public_html.
Step 4: Import the Database
-
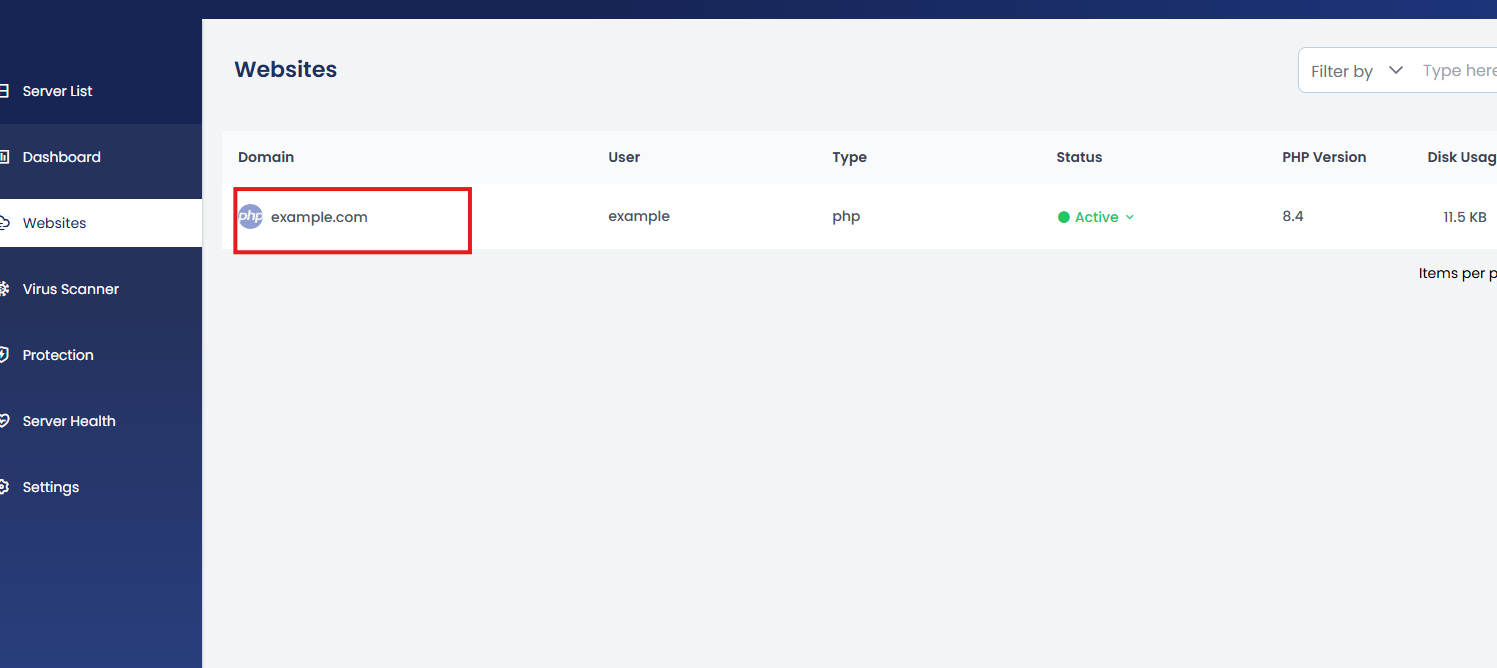
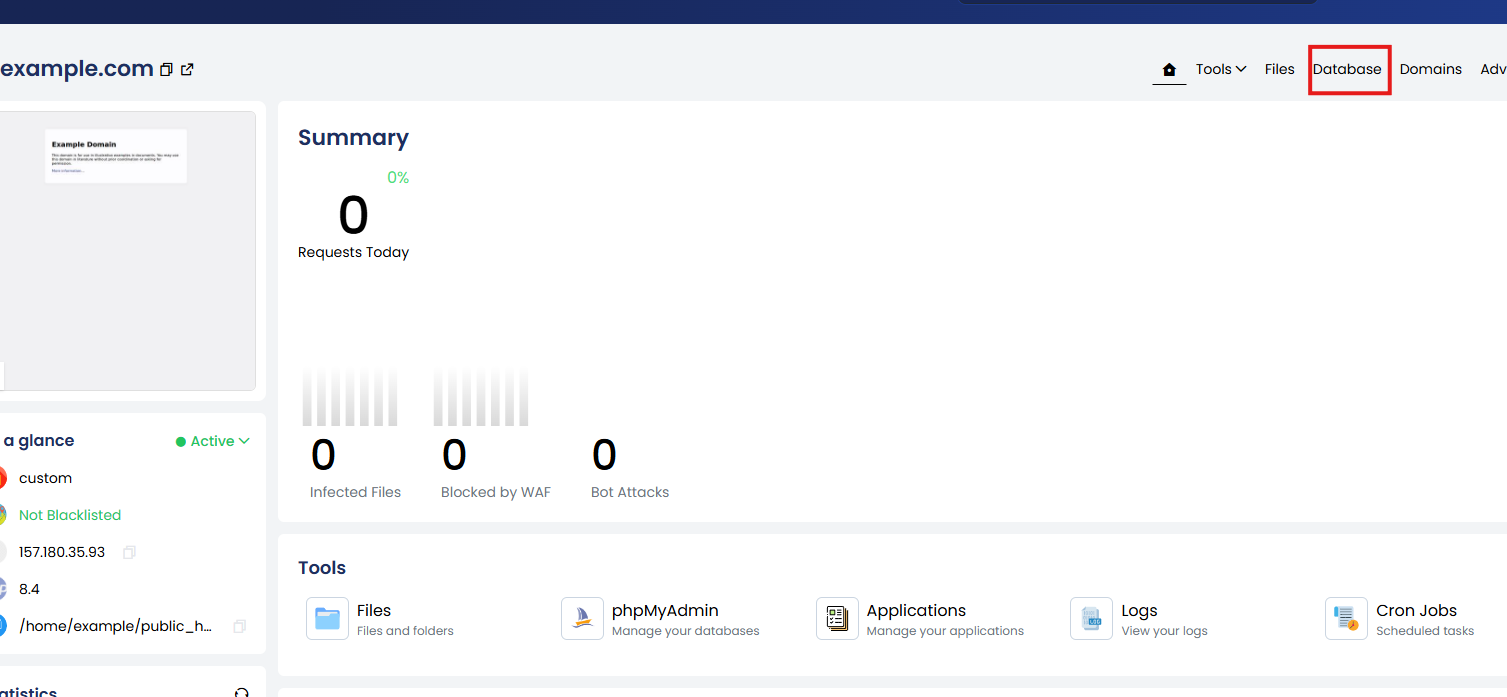
From the cPGuardX dashboard, click on Website, then go to Database.
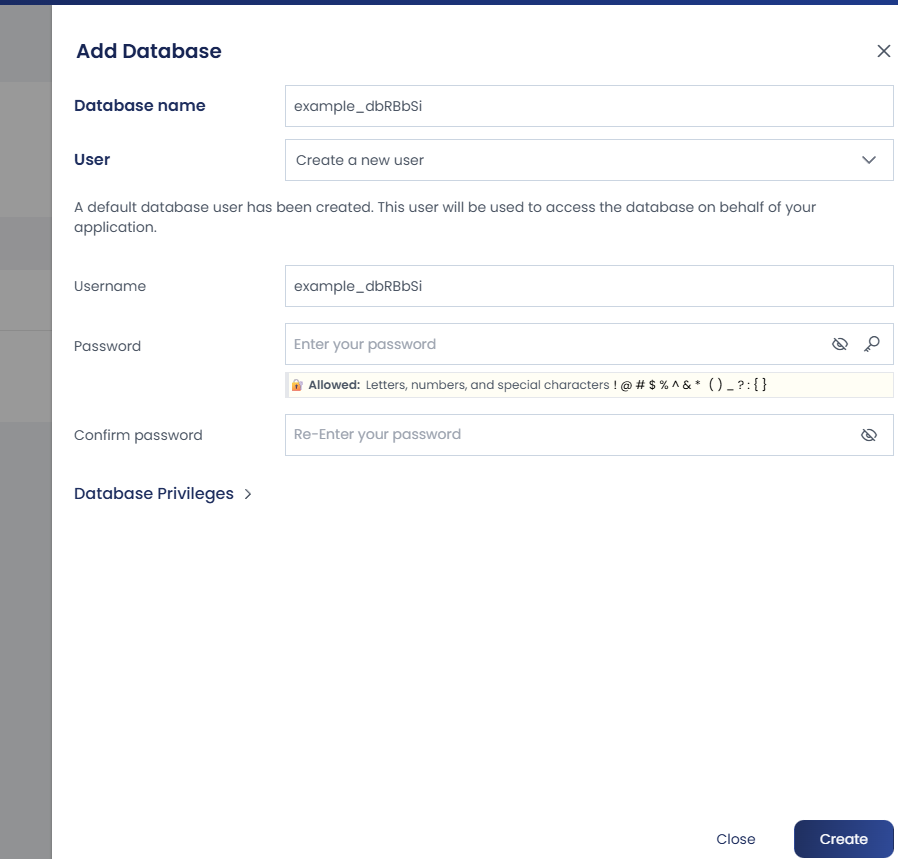
- Click on +Add Database and provide the details.
Database name, Username, Password and privileges.
Then click Create.
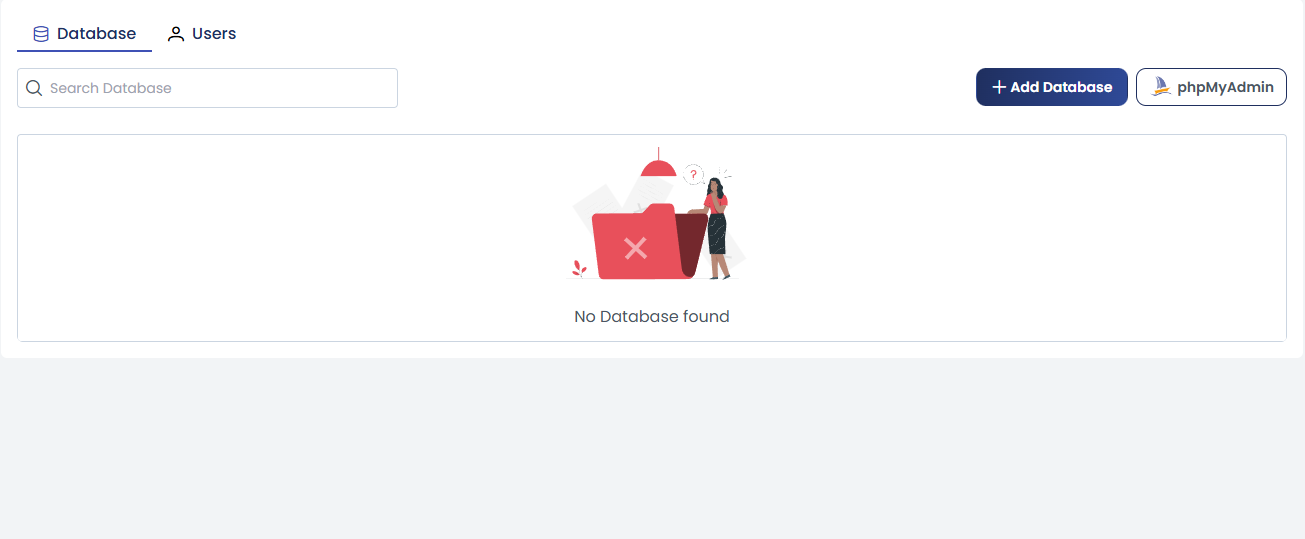
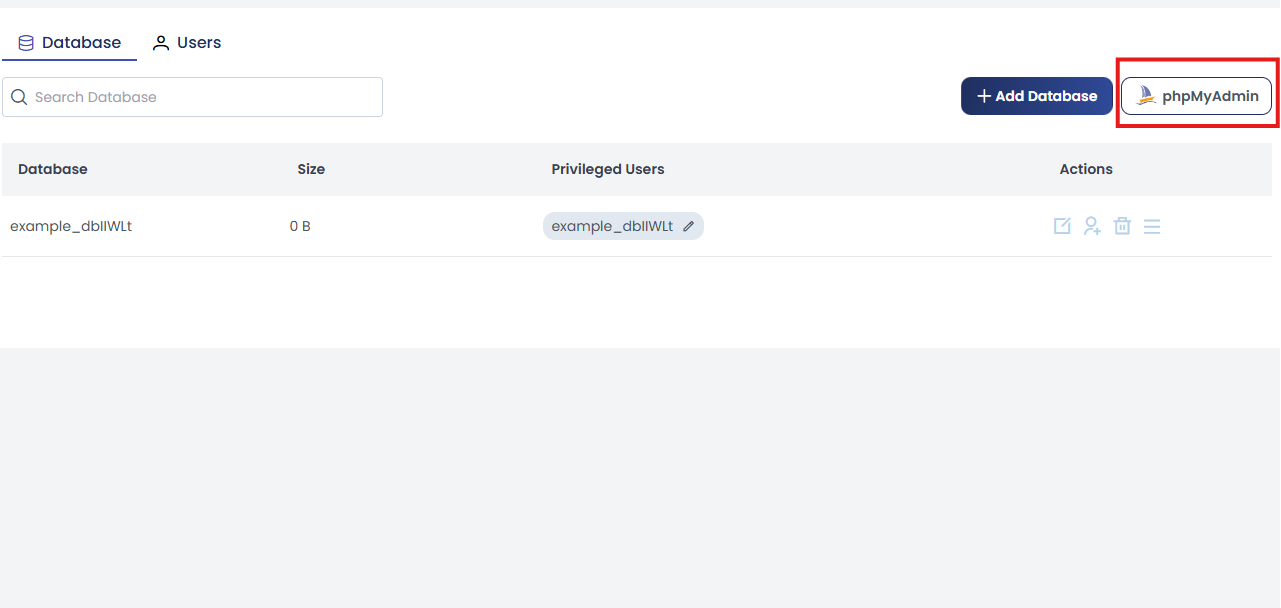
Click phpMyAdmin
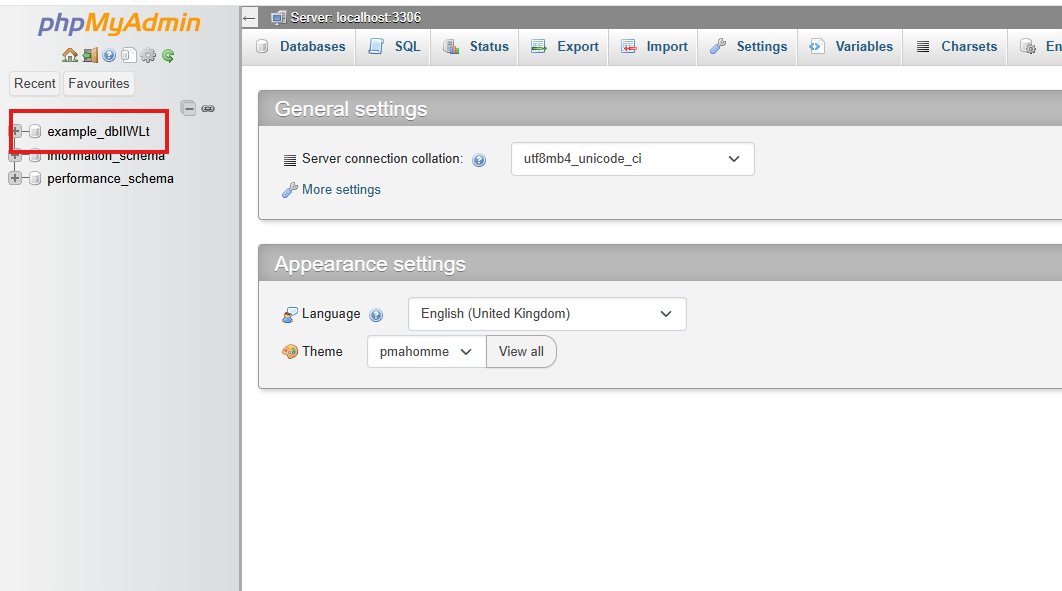
Select the newly created database.
Click the Import tab → browse and select your .sql database file → click Go.
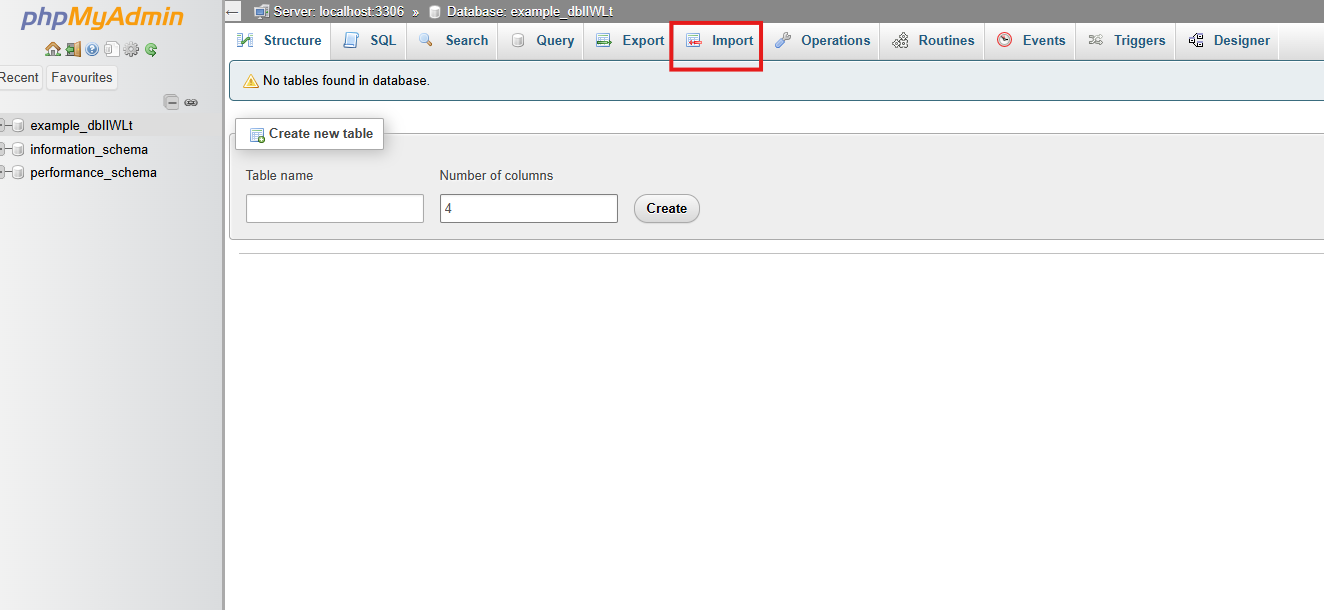

Your database is now restored.
Step 5: Configure Website (e.g., WordPress)
If it’s a WordPress website:
-
Open the
wp-config.phpfile insidepublic_html -
Update the database name, username, and password with the ones created in Step 4.
For other platforms, update the relevant PHP configuration file that stores the database connection details.
Step 6: Set Permissions
Ensure file and folder permissions are set correctly:
-
Files:
644 -
Folders:
755 -
Ownership:
owner:www-data
Step 7: Update DNS
Update your domain’s A record to point to:
server Ip (where webiste is hosted)Once DNS propagation is complete, verify that:
-
The website loads correctly
-
SSL certificate has been automatically installed